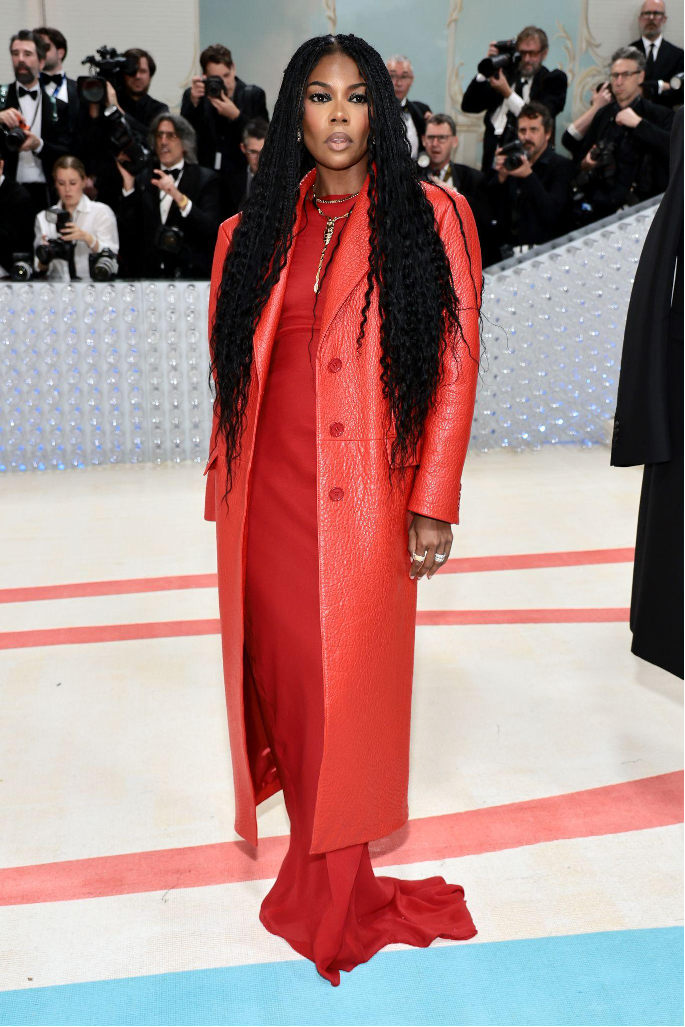
Protective styles for curly hair on the red carpet are a vibe, and Gabriella Union looked stunning as she rocked her waist-length Goddess braids. This look was finished with our Curlsmith Diffrizion Dryer & XXL Diffuser to set her style and offer long-lasting hold.
Giving your tresses a break from everyday styling can be ideal and protective styles are the perfect way to do that. Installing Goddess braids takes time and includes prep work and aftercare to maintain healthy hair, but overall the results are worth it!
Follow these five simple steps to learn about the process of a protective style with the help of Curlsmith Recipes.
Step 1

Clarify your tresses with our Wash & Scrub Detox to remove any build-up and thoroughly clean your scalp and strands. Your protective style may be in for several weeks; therefore, having a deeply cleansed scalp before application is key.
Step 2
Deep condition using a moisturizing hair mask such as our Double Cream Deep Quencher; for those with medium to coarse textures. Alternatively, our Hydro Creme Soothing mask is suitable for fine hair. For our curls friends who require protein, our Multi-tasking Conditioner is perfect for strengthening and nourishing your locks. Deep conditioning is advised before installing braids to allow deep penetration into the cuticle to nourish and strengthen your strands, ready for your protective style.
Step 3
Apply a leave-in condition to detangle and moisturize your locks. We have a range to suit all textures. Work this through the lengths and ends of your strands section by section using the raking method for even distribution.
Step 4
Mist your tresses with Miracle Shield to benefit from the heat protection, and then use our Diffrizzion Dryer with the comb attachment to pre-stretch your curls in sections. Prestretching is crucial before a protective style if you have a tighter curl pattern, as working with smooth strands allows easier and neater installation.
Step 5

Install your protective style using a hair gel for hold; once complete, set the hair with our Diffrizion Dryer & XXL Diffuser. For the finishing touches, apply our Scalp Stimulating Booster into the parting to nourish the scalp and smooth Bonding oil throughout your style to add strength and shine. To complete the look, use a gel like our Hydro Flexi Jelly to lay your edges.
Protective Styles with Curlsmith
Now that your protective style is complete, you don't need to worry about styling for a few weeks. However, misting your tresses with our Moisture Memory Reactivator every few days is recommended to moisturize your strands. In addition, if you plan to wear your hair for several weeks, cleansing your scalp is advised to keep your follicles unblocked and healthy.