Styling curly hair is a mixed bag. Those gorgeous locks turn heads, but they also come with challenges if you don't have the right products or methods. That's why we're keeping it simple with today's hairstyle tutorial. Because let's face it, who has the time for complicated styling routines when you're already juggling a million things on wash day?
Say hello to the super-simple snatch-back look that'll elevate your curls with minimal effort.
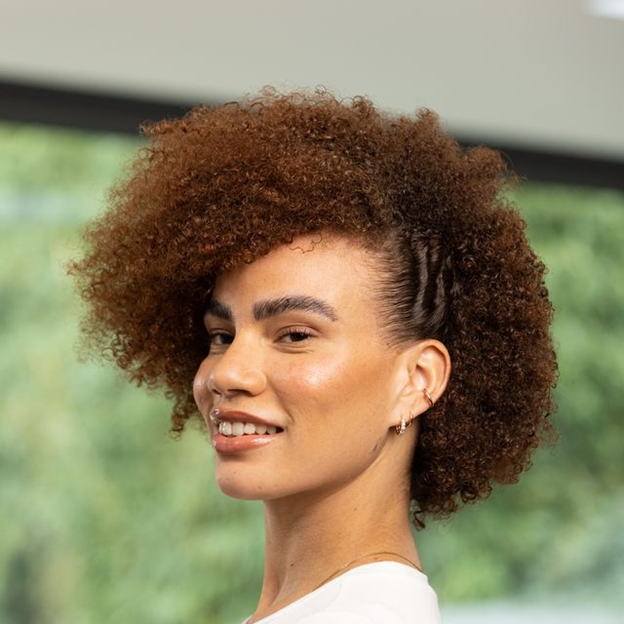
But first things first – what exactly is a side snatch back? Allow me to break it down for you. It's all about smoothing and securing a side section of your hair, creating an elevated and sleek appearance. This simple yet effective technique transforms the same old curly look into a defined style in just a few easy steps.
Step 1: Start Fresh
Begin with freshly washed hair – clean curls are happy curls, after all. Wash and condition your tresses with your favorite Curlsmith shampoo and conditioner, then give them some extra love with a leave-in conditioner to help keep them moisturized and primed for styling.
Step 2: Define and Conquer

Now it's time to choose your styler. The Curl Defining Styling Souffle is our go-to for moisture, definition, shine, and hold. Apply it to your curls section by section, making sure to distribute it evenly for maximum effect. Whether you're a fan of the raking method and scrunching or prefer finger curling, do what works best for your curls.
Step 3: Gel it Back

Select a stronghold gel like our In Shower Style Fixer for that sleek snatch back. Apply it to the side where you want your snatch, ensuring you cover the hairline for a polished finish. Smooth it with a brush to create a sleek surface ready for action.
Step 4: Secure and Set

Now comes the fun part – creating the twist and securing it with pins. It might take a few tries to get it right, but trust me, it's worth it. Once you're happy with the placement, grab your Curlsmith Diffrizzion Dryer and XXL diffuser to help set everything in place. Use the hover method over the snatch back to ensure it stays put, then diffuse the rest of your curls using your preferred diffusing technique.
Step 5: Fluff and Finish

Once your curls are dry, fluff them with a hair pick to add volume and bounce. Finish off the look with a spritz of Flawless Finish Flexible Hold Hairspray to lock everything in place and help protect against humidity without leaving your curls feeling dry or sticky.
Snatch Back with Curlsmith
And there you have it – a simple yet effective snatchback created in five easy steps. Feel free to amp up the glam factor with a statement hair accessory or keep it low-key and let your curls do the talking. This look is suitable for all curls types, textures and lengths. For more curly hair styling inspo please visit our style hub.